Getting Started
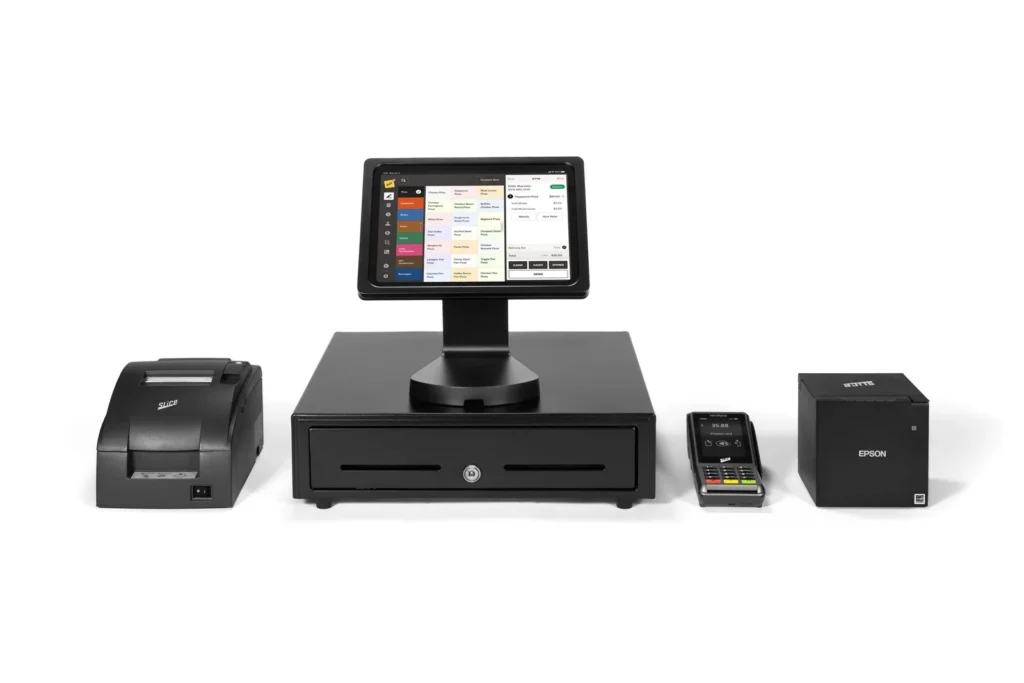
Welcome to Slice Register! Designed to keep your shop running smoothly, it helps you take orders, manage payments, and streamline operations.
Onboarding Call
Before setting up your hardware and software, you’ll have an Onboarding Call with your Account Manager and an Implementation Lead. This call will:
- Introduce you to the Slice team and your dedicated support contacts.
- Walk you through the setup process and what to expect.
- Answer any initial questions.
- Ensure your shop is ready to go live.
During this call, your Implementation Lead will:
- Ensure a smooth transition to Slice Register.
- Confirm which features you need and set them up accordingly.
- Review your current POS system, internet setup, and network connection to prevent setup issues.
- Verify any existing contracts with other POS or card processors.
- Explain payout timing so you know when to expect your funds.
- Guide you through setup and answer any long-term questions.
- Assist with training, menu configuration, and payment setup.
- Ensure everything is running smoothly.
Setting Up Your Hardware
After the Onboarding Call, install your hardware, including your iPad, printer, card reader, and cash drawer. Follow the Slice Register Install Guide for step-by-step instructions.
Logging into the Register
Open the Slice Register app on your iPad.
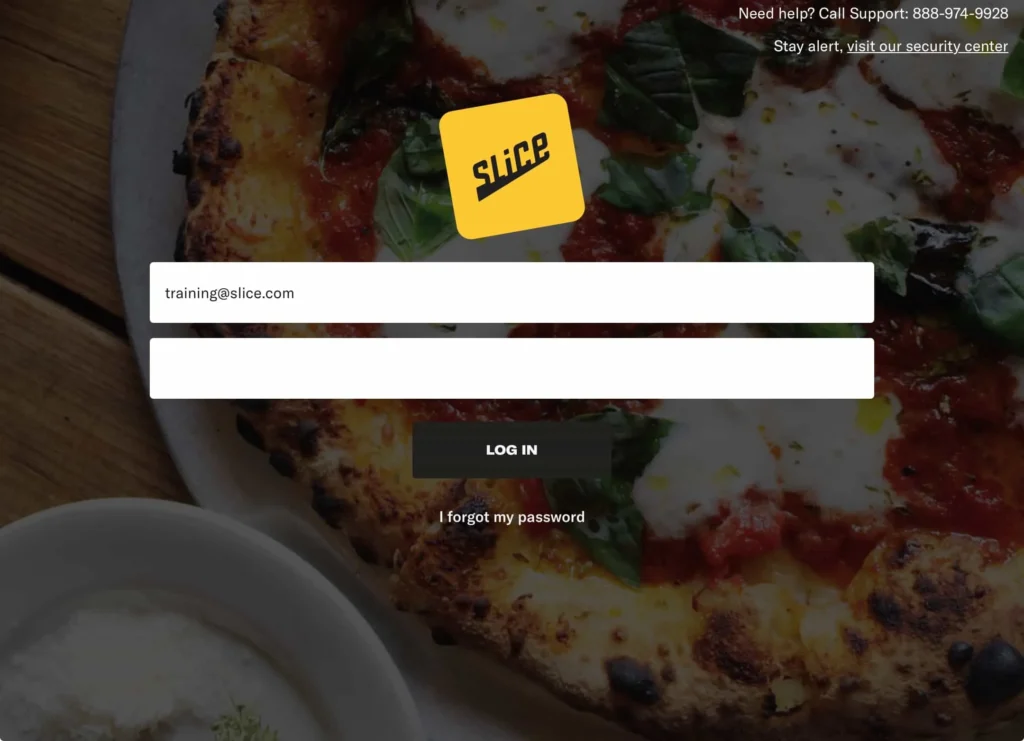
Enter your email and password. These are the same credentials used for the Owner’s App (web).
Tap Log In.
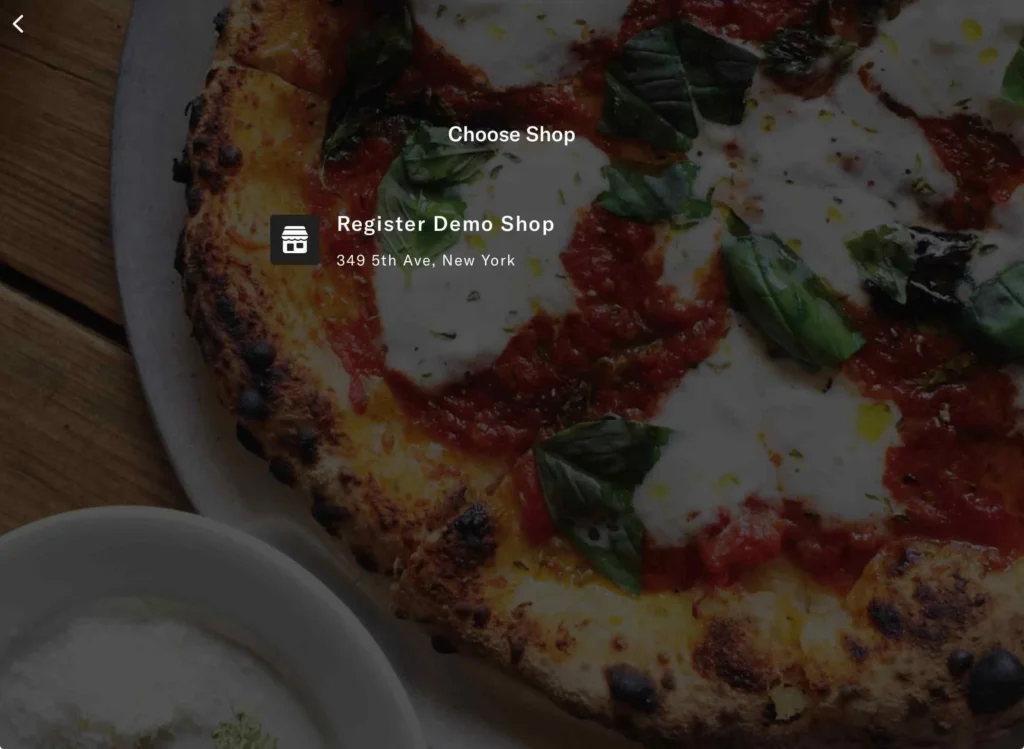
If you have multiple shops, select the location you are in.
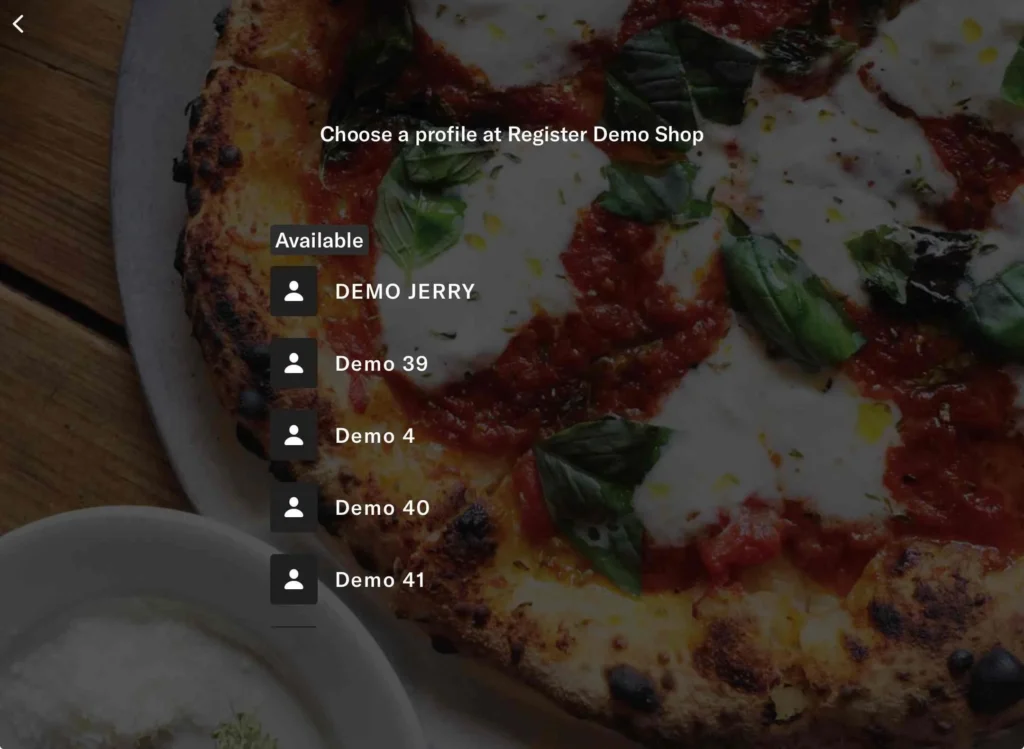
Choose the Register profile if you have more than one terminal.
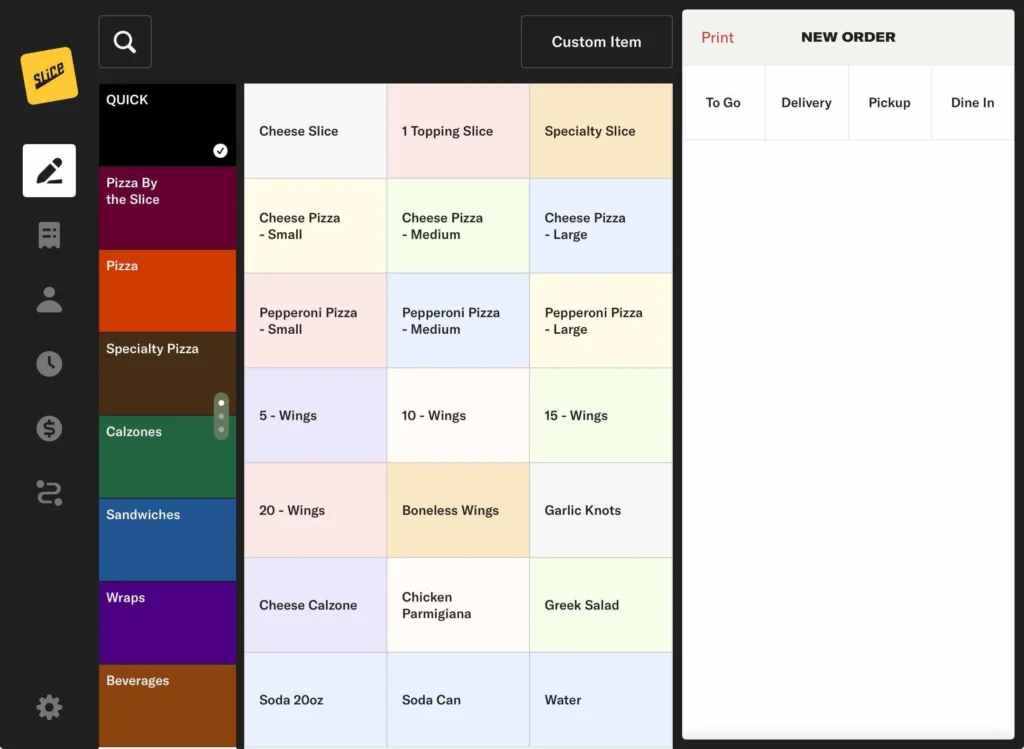
Once loaded, you’ll see the main screen with the navigation panel.
Configuring Printers, Payment Terminals, and Cash Drawers
Once logged in, configure your Printers, Payment Terminals, and Cash Drawers:
Printer Setup
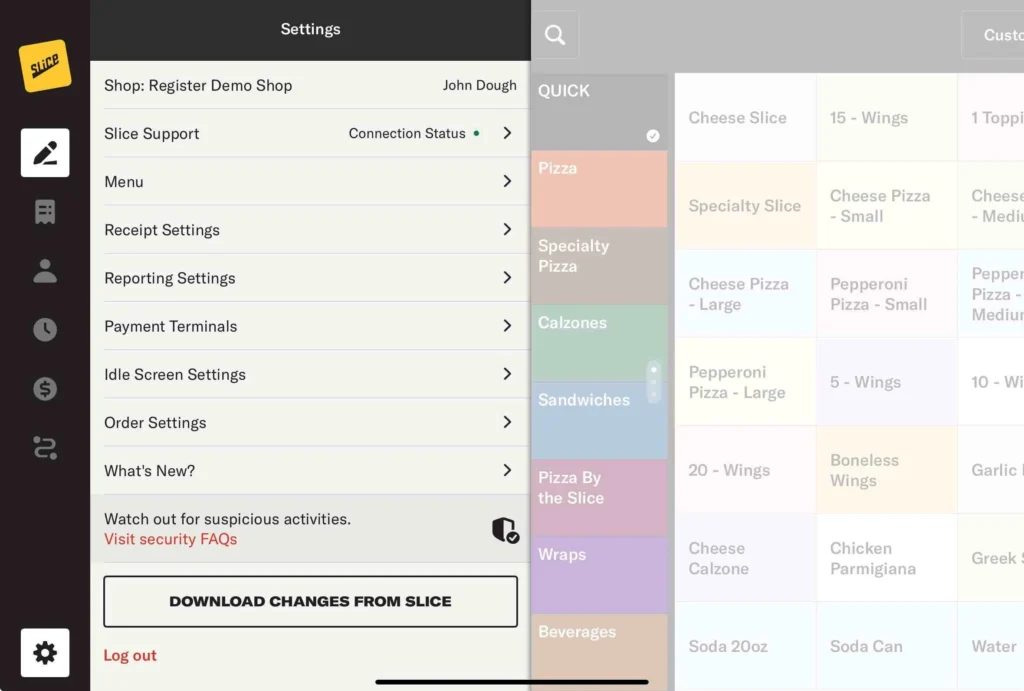
Go to Settings in the bottom left and tap Receipt Settings.
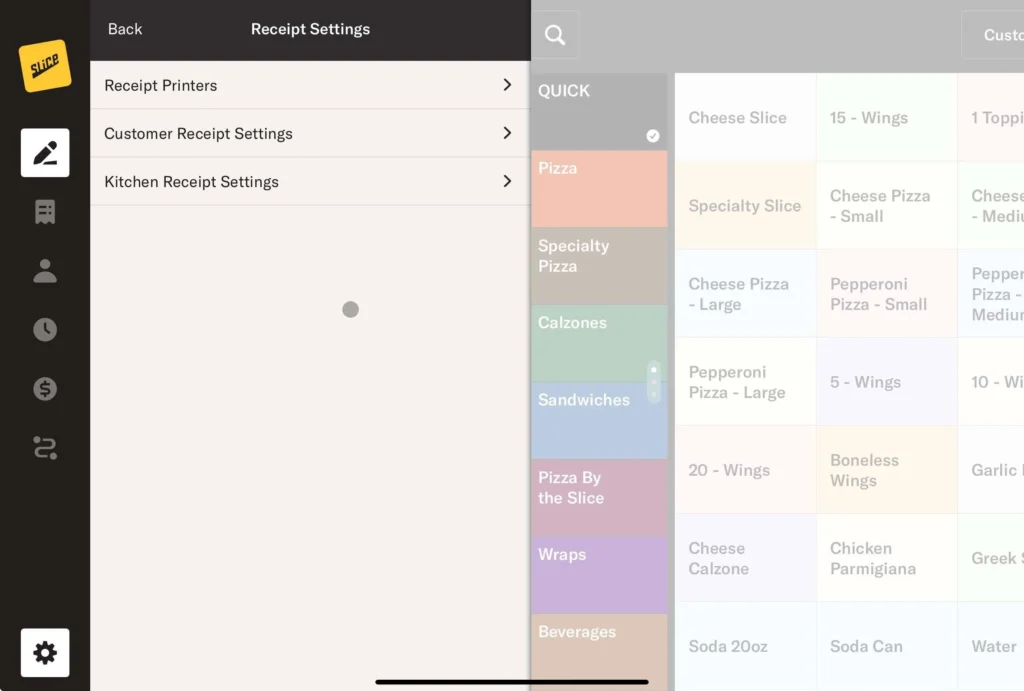
Select Receipt Printers
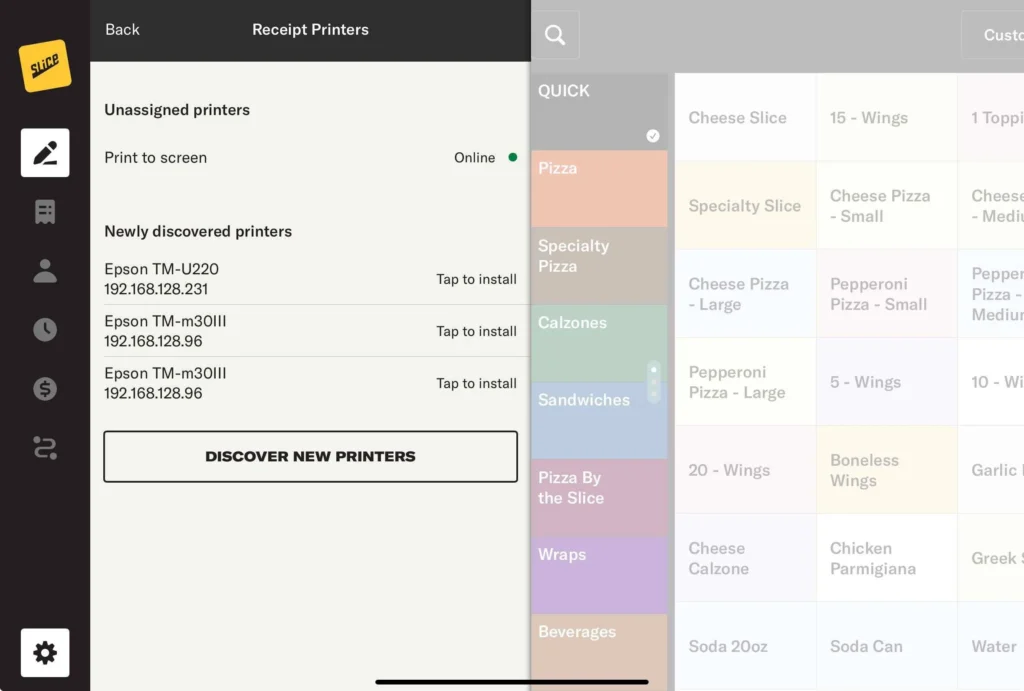
Under Newly Discovered Printers, tap the Epson TM-m30III printer.
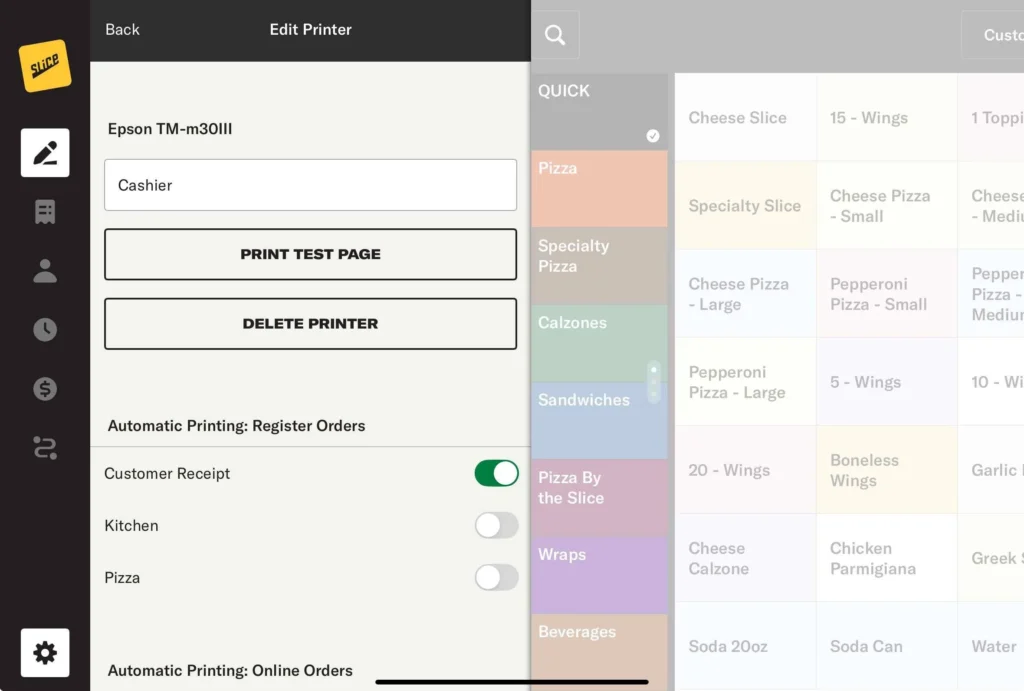
Optionally, name the printer something easily identifiable for your shop (e.g., Cashier, Front Register, Customer Printer).
Print a test page to confirm the connection. If your test page prints blank or does not print, check the paper. If the wrong printer prints out, tap back and select the Epson TM-m30III.
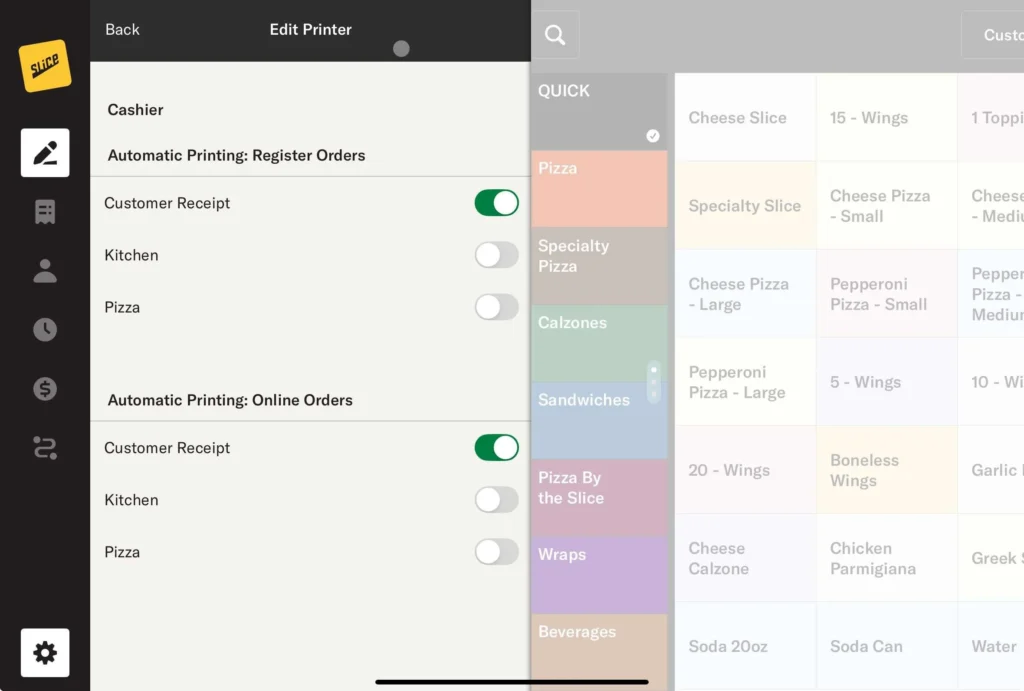
Enable Automatic Printing: Register Orders for Customer Receipts and Automatic Printing: Online Orders for Customer Receipts
If you have integrated third-party orders, enable Automatic Printing: Third-Party Orders Customer Receipts as well
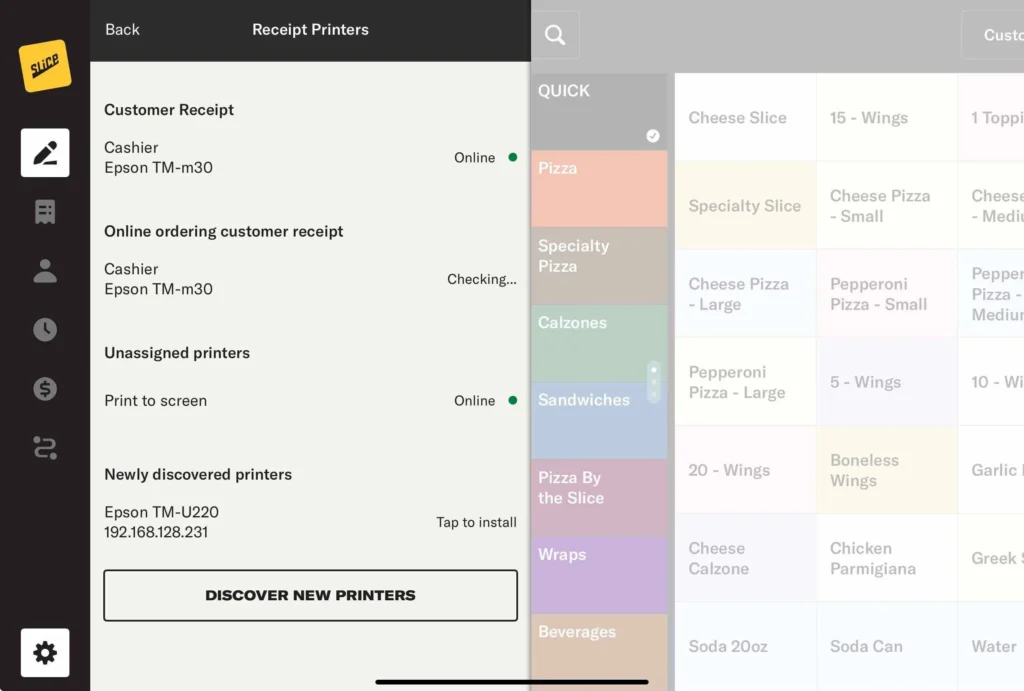
Tap Back, then select the Epson U220 printer listed un Newly discovered printers.
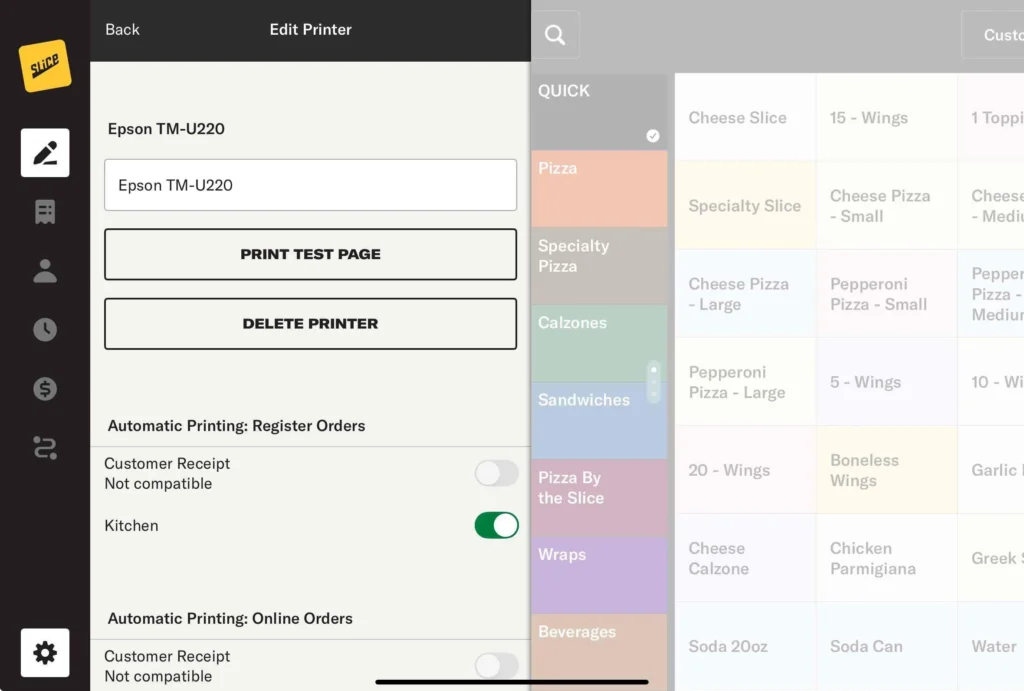
Optionally, name the printer something easily identifiable for your shop (e.g., Kitchen, Pizza, Fryer).
Print a test page to confirm the connection. If your test page prints blank or does not print, check the paper. If the wrong printer prints out, tap back and select the Epson TM-m30III.
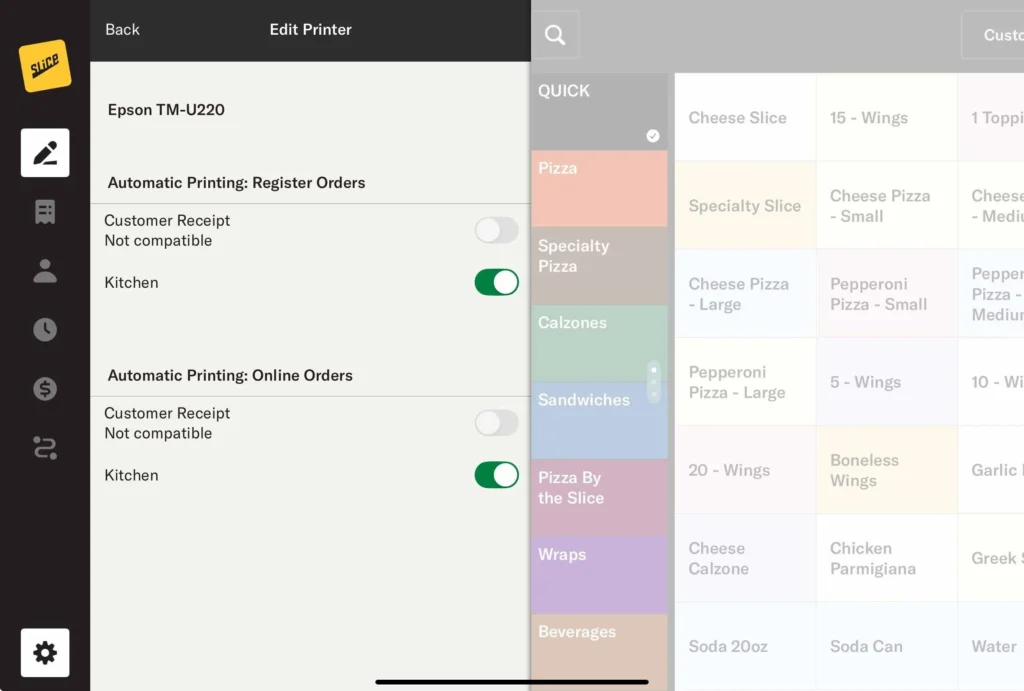
Enable Automatic Printing: Register Orders for Kitchen and Automatic Printing: Online Orders for Kitchen
If you have integrated third-party orders, enable Automatic Printing: Third-Party Orders Customer Receipts as well
Tap Back twice to return to Settings.
Payment Terminal Setup
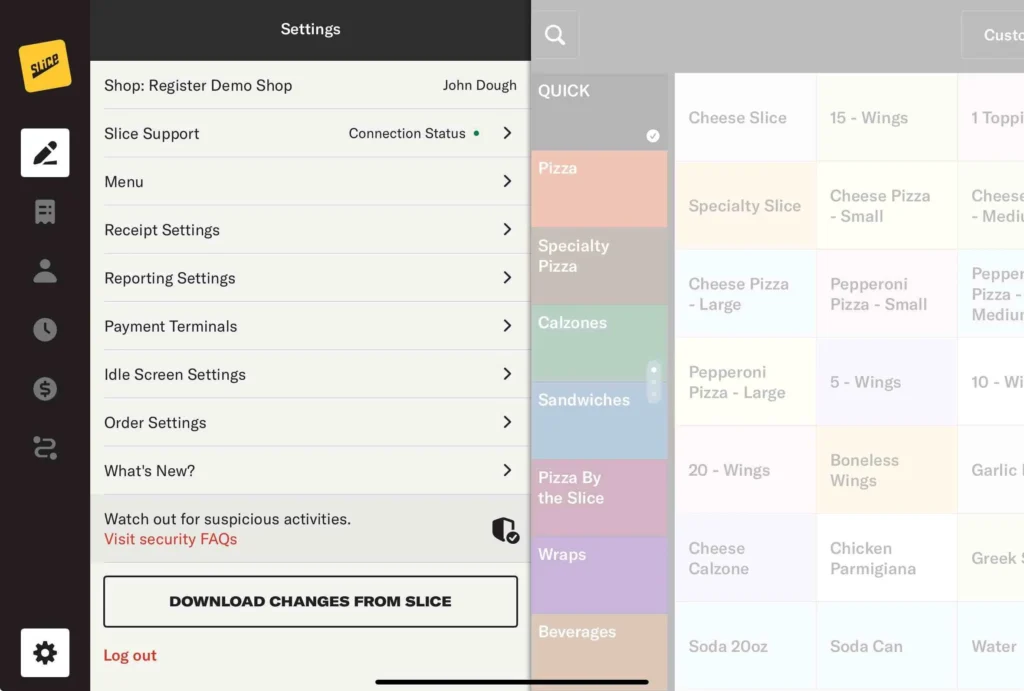
Tap Payment Terminals.
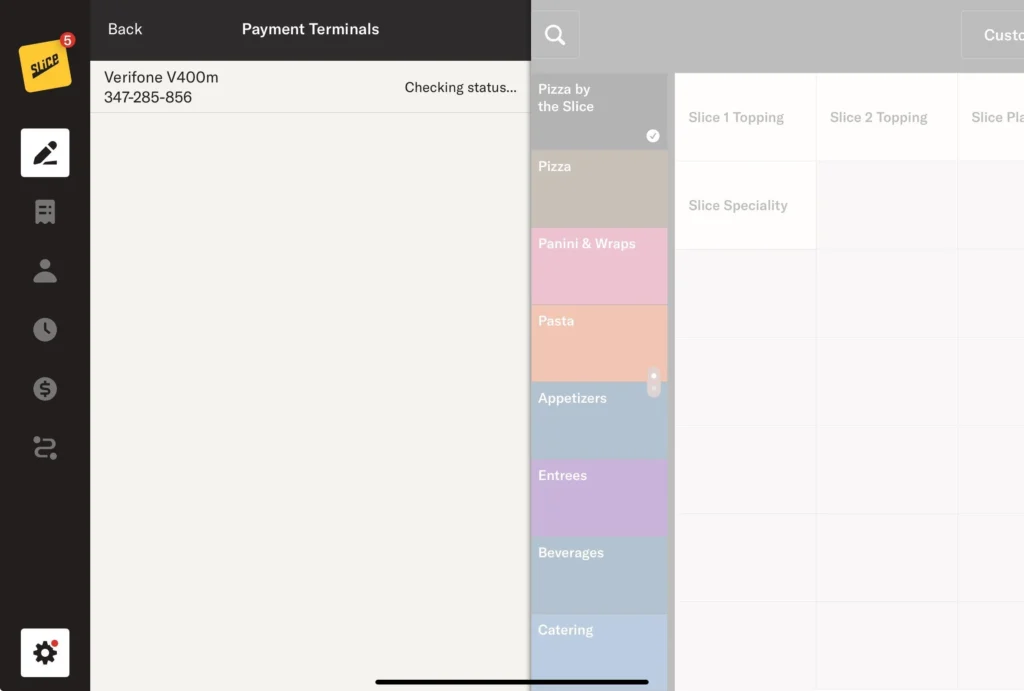
Identify your terminal matching the serial number on the back.
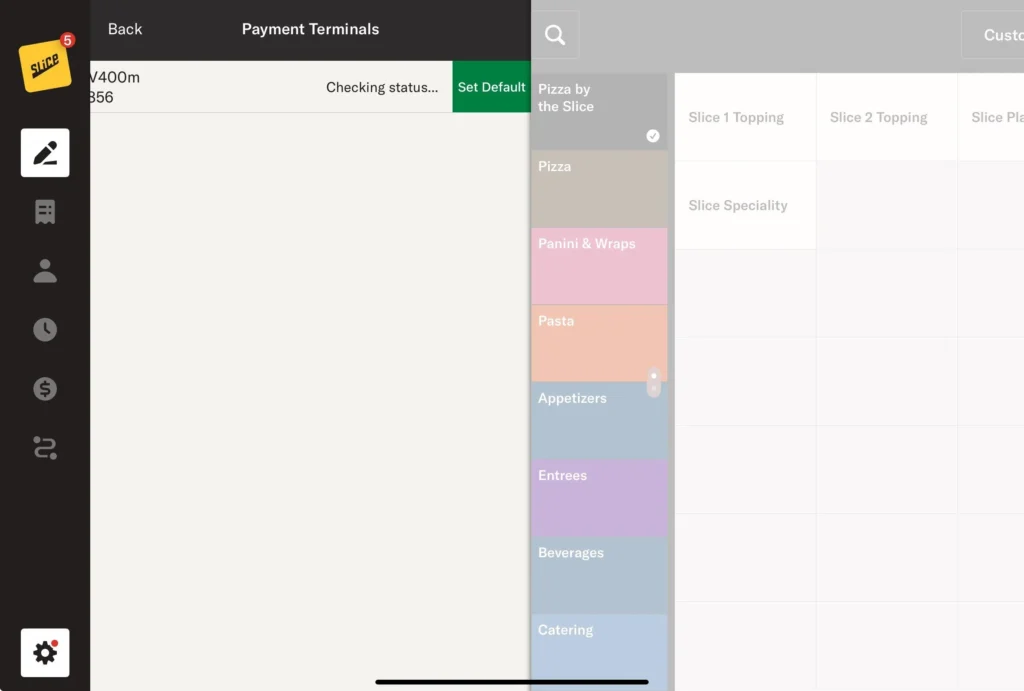
Swipe left to set it as the default reader for this iPad.
Cash Drawer Setup
Tap the Dollar Sign on the left navigation bar.
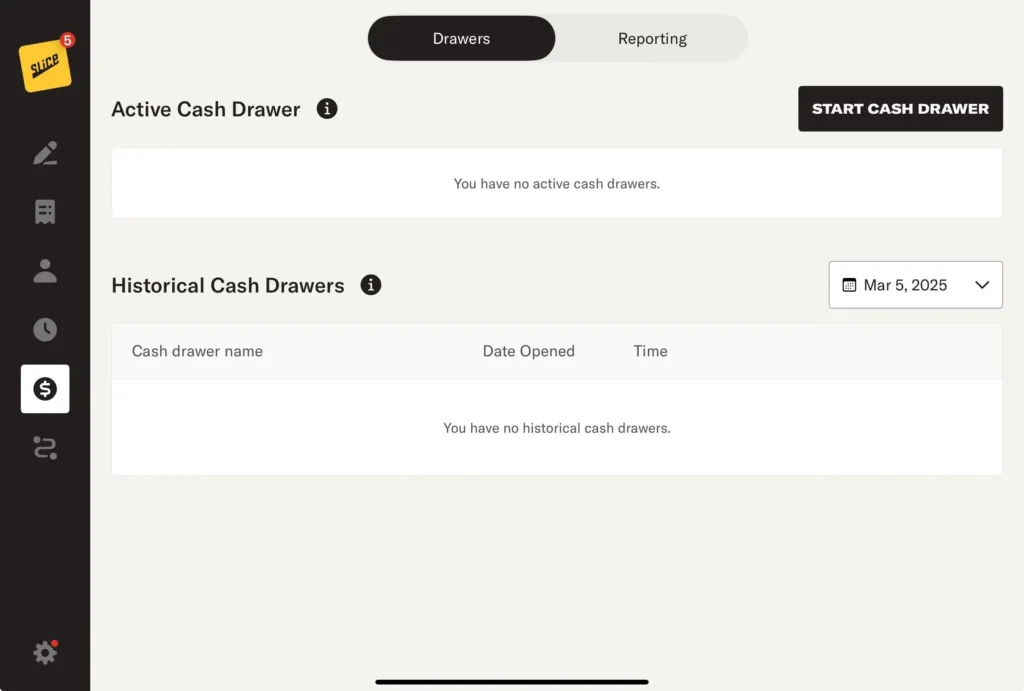
Tap Start New Cash Drawer.
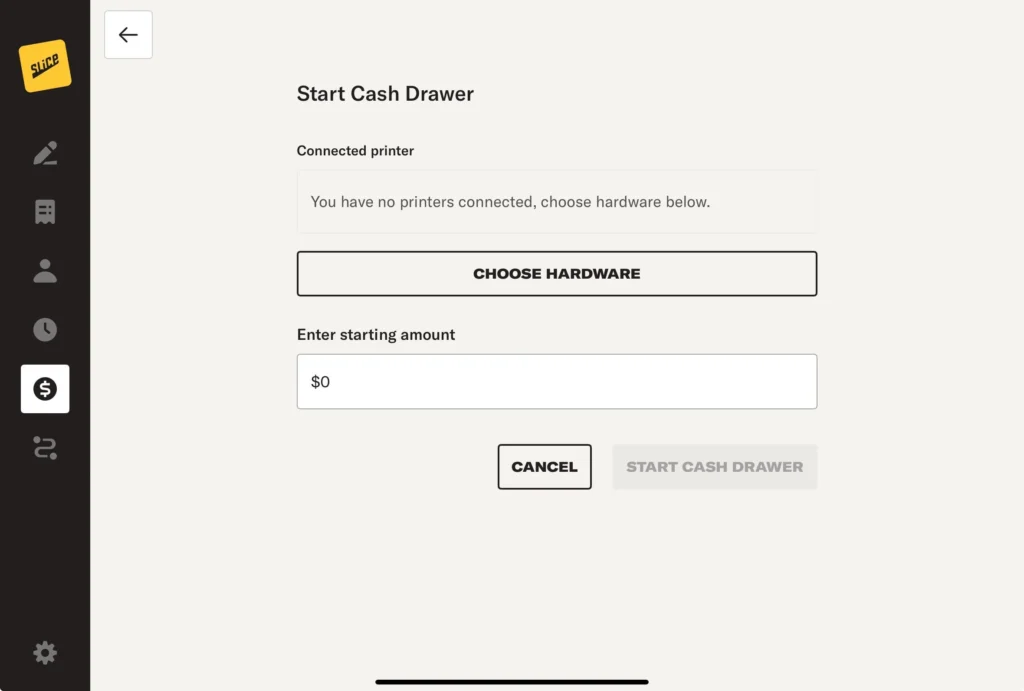
Choose Hardware.
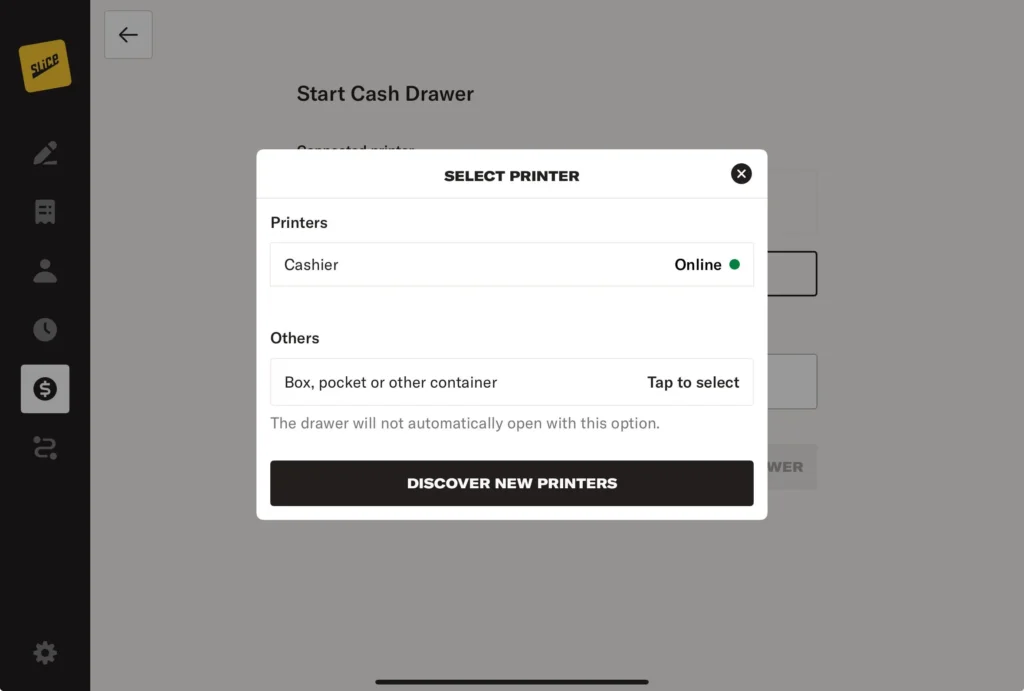
Select your desired printer, or choose Other if not connecting to the Slice drawer.

Enter a starting balance and tap Start Cash Drawer.

Your Slice Register is now fully configured. Tap the pencil icon in the top left to access your menu and start taking orders. Check the Register – Order Entry page for step-by-step instructions.
